FINDING THE IDEAL SPOT TO PITCH YOUR TENT
Whether you reserved your campsite 6 months ago or at the last minute found a fabulous First-Come-First-Served site, campers often have no idea how the actual layout of their site will be until you’re standing right in front of it. Your site may have a severe slope or the fire ring and picnic table are in a difficult place. Some may have lots of shade or no shade at all! Here are some tips to help you find the ideal spot to pitch your tent and set up a cozy and fun campsite!
The first thing you can do to ensure a smooth setup is to know what time sunset is at your campground before hitting the road. Setting up camp can take at least 1 hour for seasoned campers and quite a bit longer if you camp occasionally. Setting up in the dark makes it MUCH more difficult and dangerous. If your plans permit, try to arrive at least 4 hours before sunset, then you can leisurely enjoy dinner and your campfire after setting up.
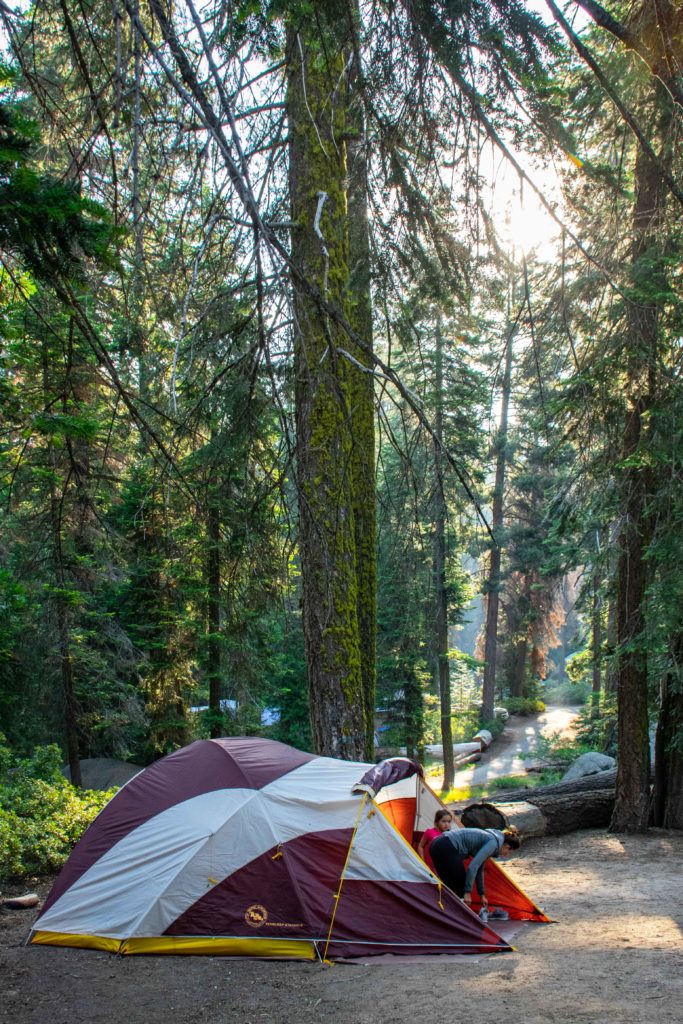
Here is a list of 10 key tips to help you find the ideal spot to pitch your tent on your campsite.
1. Find a flat, level spot for your tent, on high ground.
If you pitch your tent on an incline will find yourself sliding downhill while you sleep! On one of our latest trips, we pitched our tent where we thought it was flat, but every night our kiddos kept rolling “downhill” right into us! We rotated our air mattresses and it was much better! They just slid to bottom of the mattress instead! If you do have to setup on a slope, you may want to sleep with your heads on the high side of the tent.
Make sure that flat spot isn’t the low point on your site. If it rains, all the water will pool under your tent and that would make for a miserable time!
2. Scope out where the fire pit is in relation to your tent.
This is for SAFETY. You want to ensure a good distance to your tent for obvious reasons, such as not setting your tent on fire, but also keeping in mind ash and smoke blowing from the fire will go into the tent. Also, bear in mind how much space you need around the tent for staking out the fly, if you’re using one, the guy wires are a tripping hazard especially in the dark. Leave plenty of space around the tent and between other objects.
3. Look for where the trees are
Where are they and what times of day will they provide shade? If you’re in a hot climate, shade in the middle of the day can make hanging out at the campsite and lunchtime far more pleasant. It’s worth noting that while shade may be nice, some trees drop sap which is tough to clean off your tent. We made this mistake, thinking it was just dew from overnight which would wipe right off. Sadly, this was a sticky mess that we couldn’t clean off until we got home. Still keep in mind, a FLAT surface is usually the higher priority!
4. Level your site and remove any large objects
Try to level out the spot where your tent will go, we cannot emphasize enough the value of a FLAT tent! We’ll use our hands and feet and have even used a sturdy stick like a rake to clear things away. Remove large sticks, rocks, and pinecones from underneath your tent footprint. This will avoid damaging the bottom of your tent and avoid hurting your feet when walking around inside your tent.
5. Use a sturdy tarp and a tent footprint
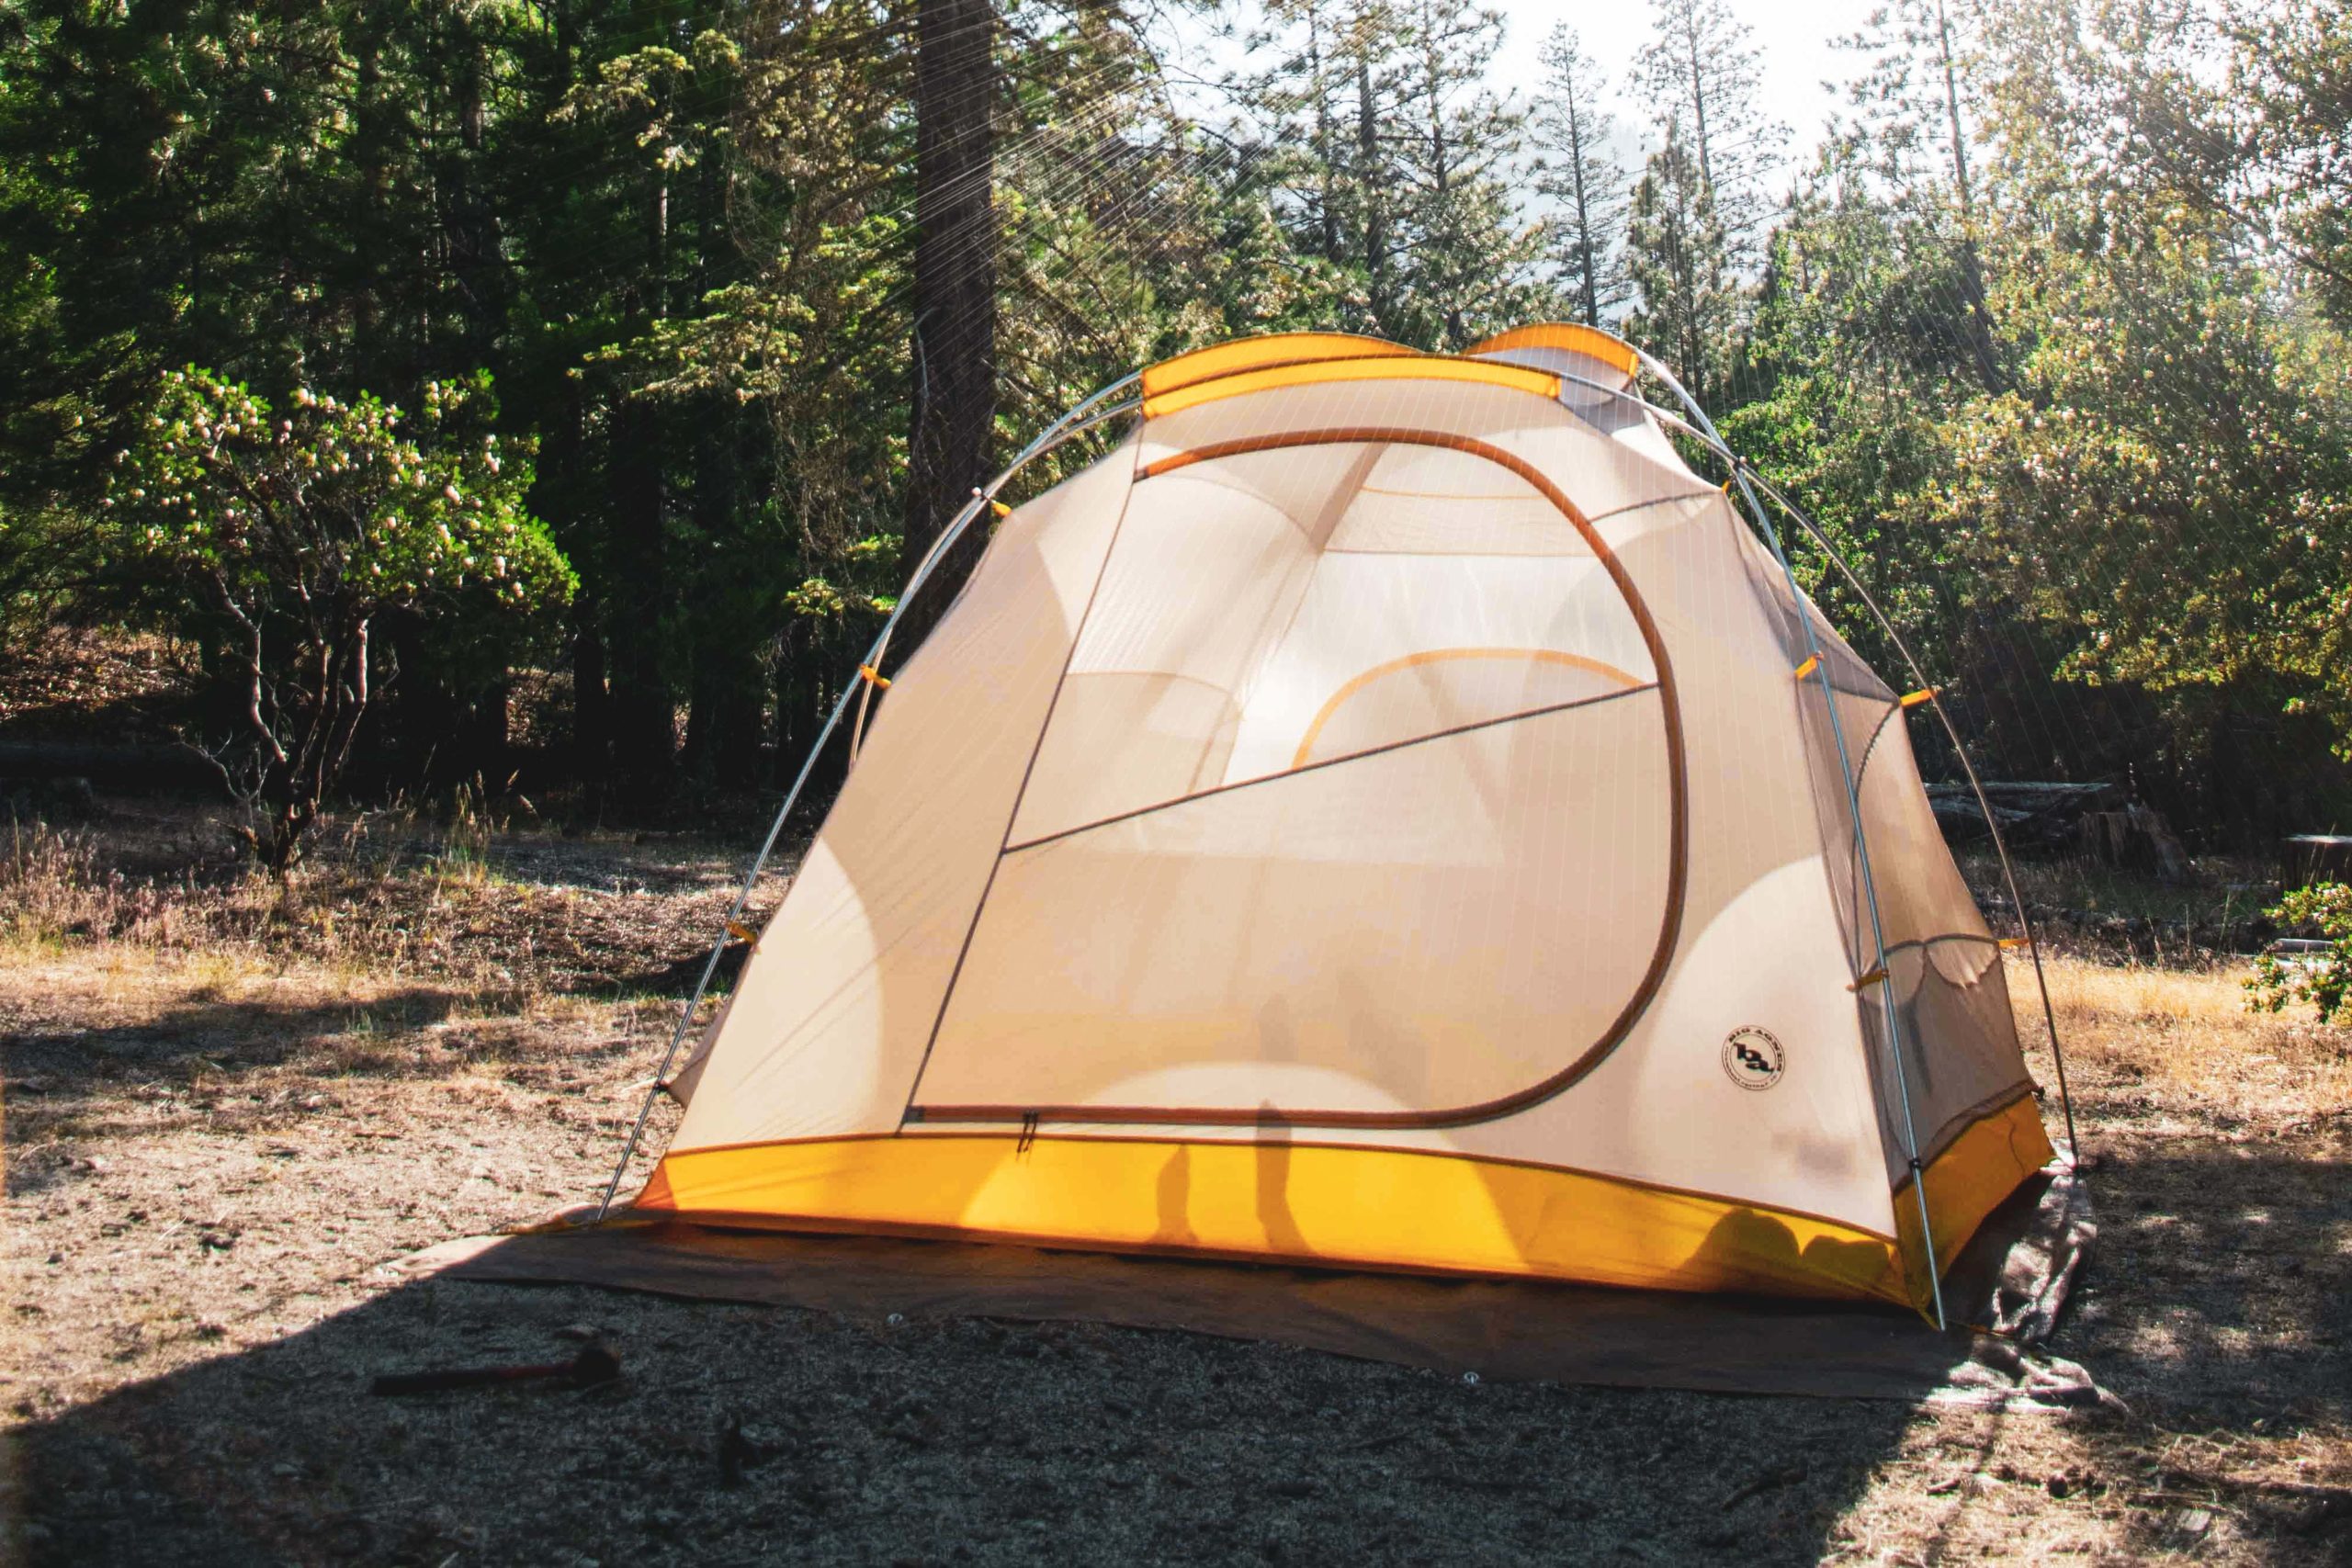
Once you’ve identified the ideal spot to pitch your tent, it is HIGHLY RECOMMENDED to lay down a sturdy tarp and tent footprint first before setting up your tent. Many tents have footprints that are designed specifically to the size and shape of the tent but need to be purchased separately. These additional layers will help protect the bottom of your tent from ripping, offers some cushion between your feet and the ground while also providing a little insulation from the cold ground. Every little bit helps!
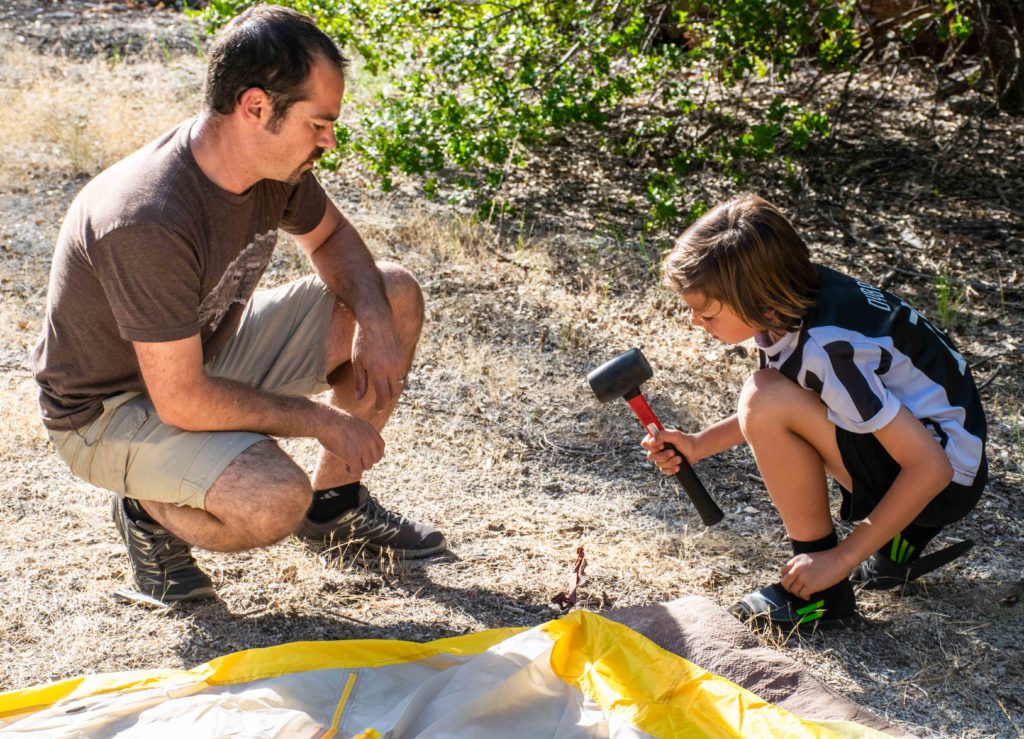
6. Lay your tent out on top of the footprint
Avoid walking on top of your tent while it’s flat. This will help to keep it cleaner and last longer. Kneel down and reach over the tent to get poles in.
7. Read the directions!
Follow the directions to pitch the tent. Every model/brand is different and may require special attention. Thankfully our directions are stitched inside our tent bag, so we will never lose them! It is worthwhile to practice setting up your tent at home before you head out on your camping trip, especially if it’s the first time you’ll be using it. This will allow you to ensure you have all the needed components and tools for setup (i.e. stakes, mallet, etc).
8. Have a good mallet and set stakes deep
Set your stakes deep to ensure no one trips while walking around the site. If left exposed, someone could really hurt themselves, especially at night.
9. Be prepared for soft or hard ground conditions
In most cases, the stakes that came with your tent will do the job. We’ve encountered a few campgrounds, however, that required some better stakes. Soft/Sandy ground will make it difficult for stakes to hold. Hard ground will make it difficult to drive the stakes deep enough. If you know you’ll be camping with either of these soil types you can bring the appropriate stakes with you. For hard ground we like bladed stakes like the MSR Groundhog (we use these almost all the time). For sandy ground where regular stakes won’t hold, you might want to consider a twist-type stakes.
10. Watch out for animals!
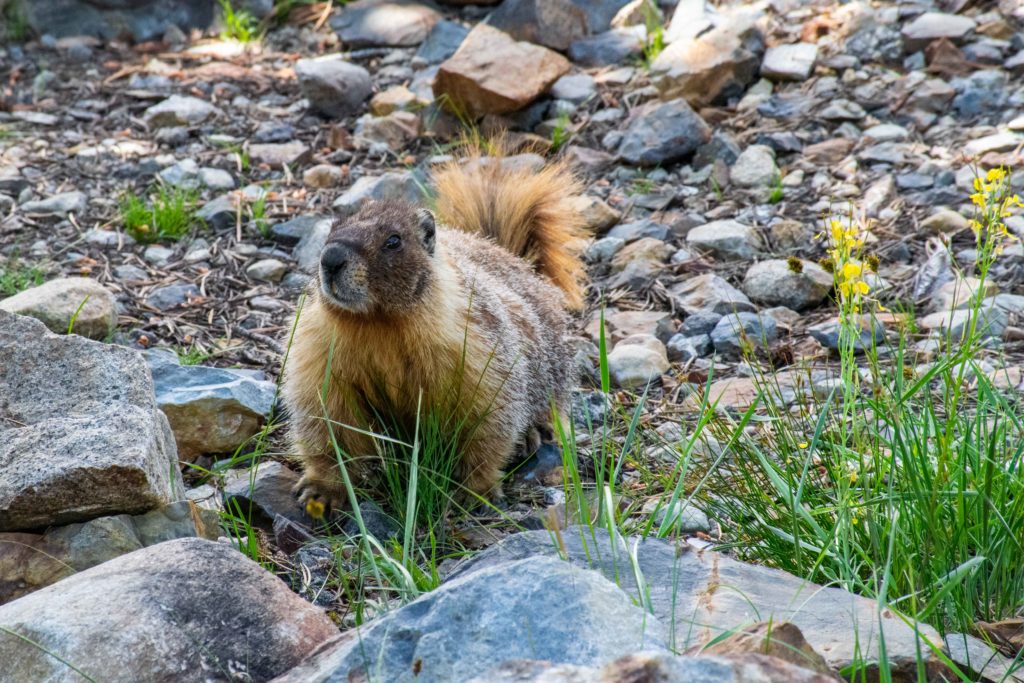
Take note of animal holes around the site and try not to place your tent directly on top of them. Mostly they’re chipmunks, but could be ant or other unwanted insect holes. We were fortunate on our most recent camping trip outside of Yosemite, near Tuolumne Meadows to land a campsite with Marmots as our neighbors! The kids loved watching the Marmots explore the site and named them all, “Marmy”.
Let us know in the comments if you have any other great tips for finding the ideal spot for your tent!

